Easy Peasy Homemade Hummus
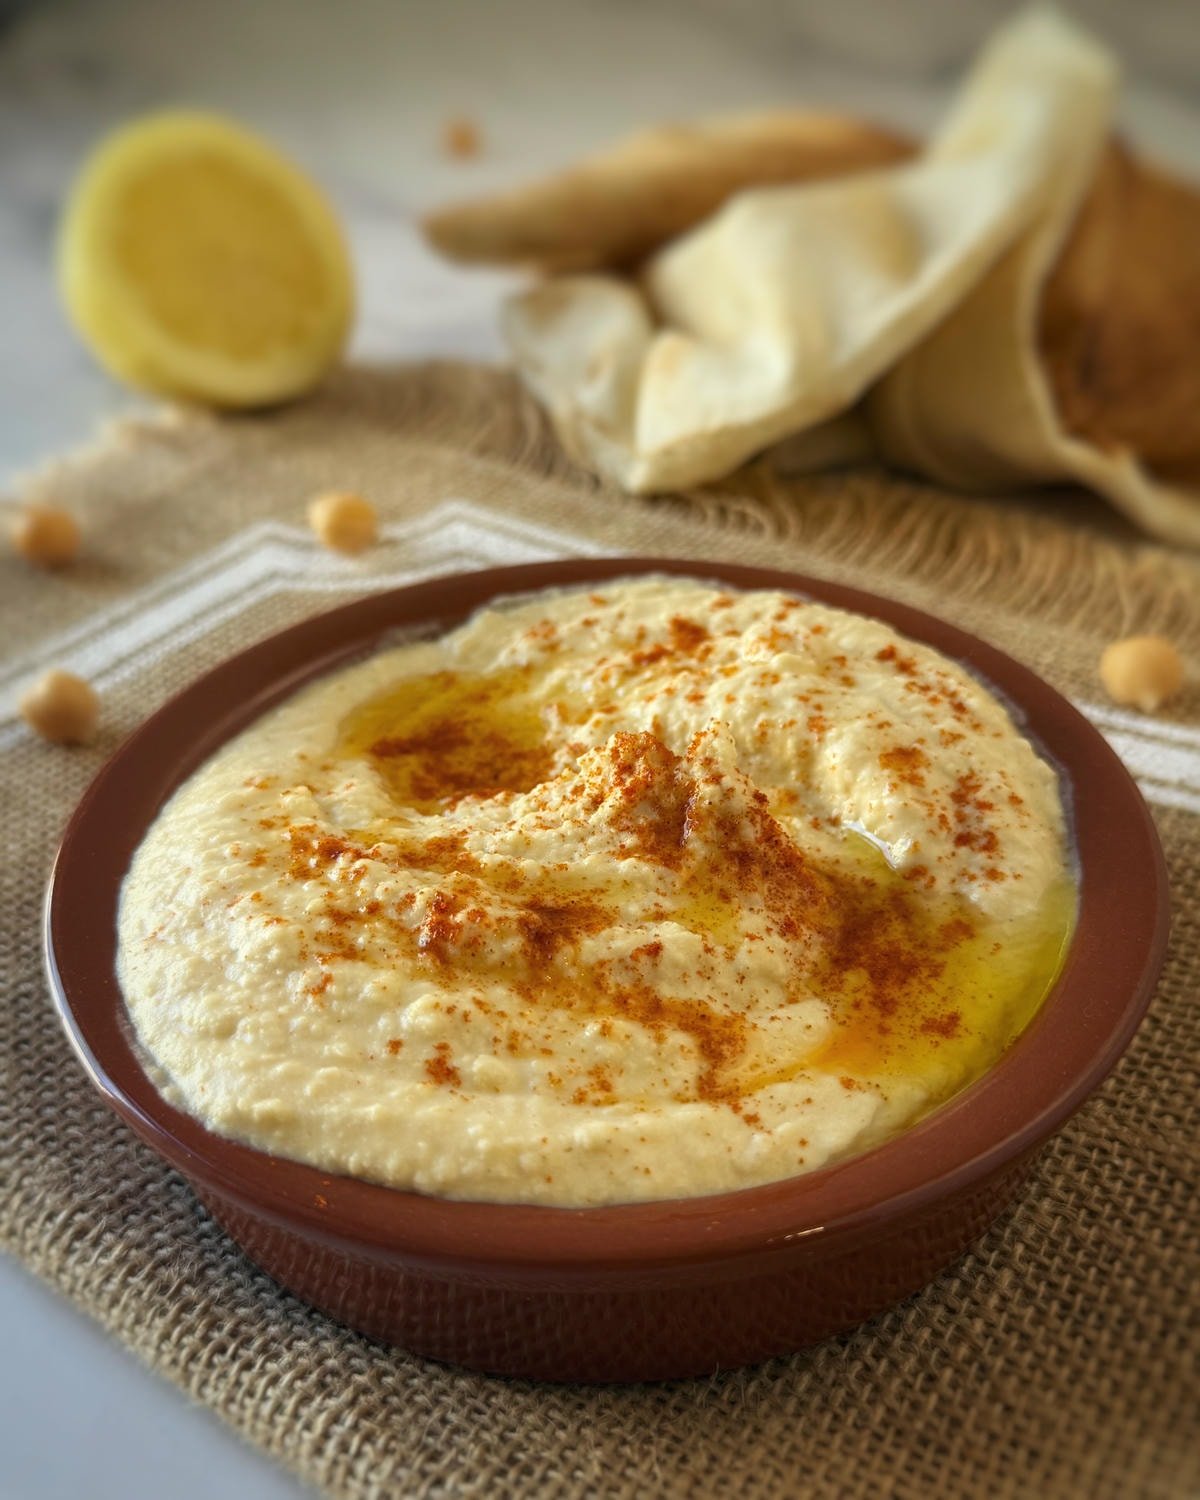
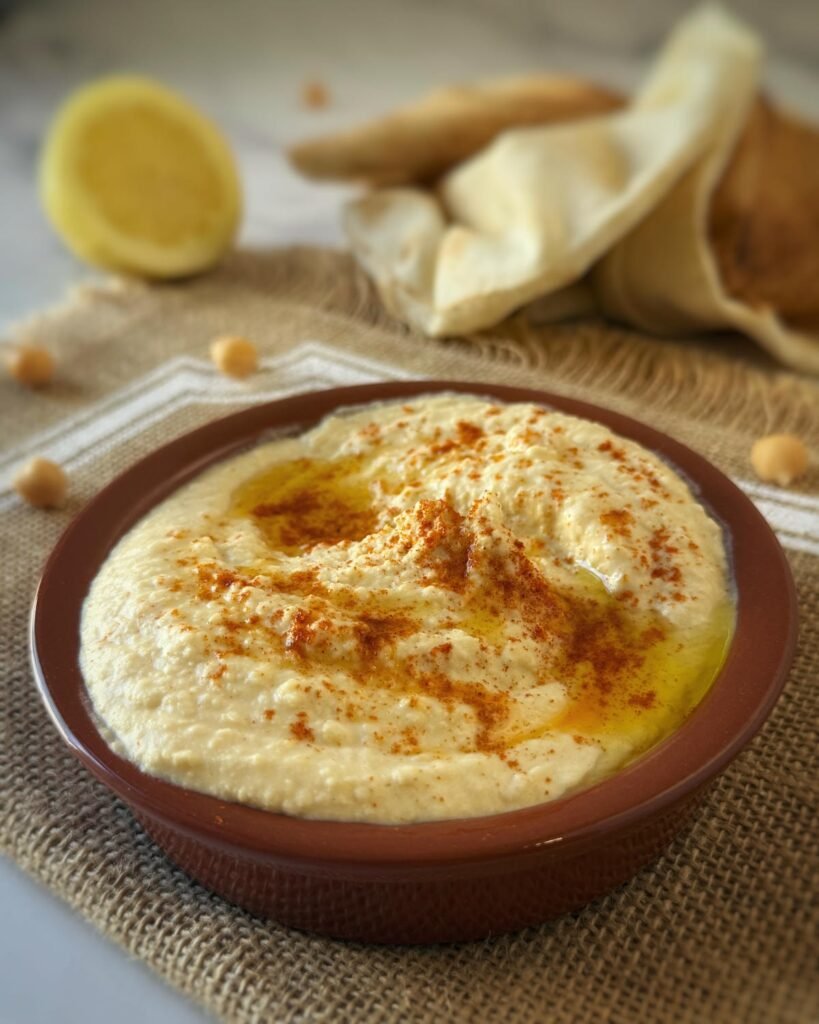
Creamy hummus made with chickpeas, tahini, olive oil and garlic. It takes minutes, costs very little and is exactly what you want beside smoky charcoal chicken and a pile of warm flatbread.
I know what you are thinking.
Why make hummus when you can walk into almost any supermarket, spend a couple bucks and walk out with a perfectly respectable tub?
Because homemade hummus is ridiculously easy, cheap and fresh. Chickpeas, tahini, lemon and olive oil do most of the work, and you control exactly what goes into the bowl. Many supermarket versions have a questionably long ingredients list, and with two young boys at home, I’m always conscious of how much added preservatives sneak into their everyday meals. I can imagine by the time they become adults they would have consumed more preservatives than any generation before them! Okay, dad rant over. I promise.
The real reason I keep making it is simpler: fresh hummus tastes better. It is nuttier from the tahini, fresh from the lemon, properly creamy and has a homey homemade texture. Best of all, I can make a small batch in a few minutes whenever we are having charcoal chicken, grilling meat or simply need something good snack attack with warm bread.
Why you’ll love this recipe
- It takes only a few minutes. Add, blitz, scrape, add water and blitz again. That is basically the entire recipe.
- It uses simple ingredients. No mystery flavouring. No ingredient list long enough to require its own bookmark. And most of these ingredients you should already have in your pantry.
- You control the texture. Make it completely smooth or leave it slightly lumpy like I do. Homemade food is meant to look homemade.
Are canned chickpeas okay for homemade hummus?
Absolutely. I use them regularly.
Canned chickpeas are already cooked and preserved through heat processing in a sealed can. They do not usually need chemical preservatives, although it is always worth checking the label if this matters to you. Look for a simple ingredient list—usually chickpeas, water and perhaps salt.
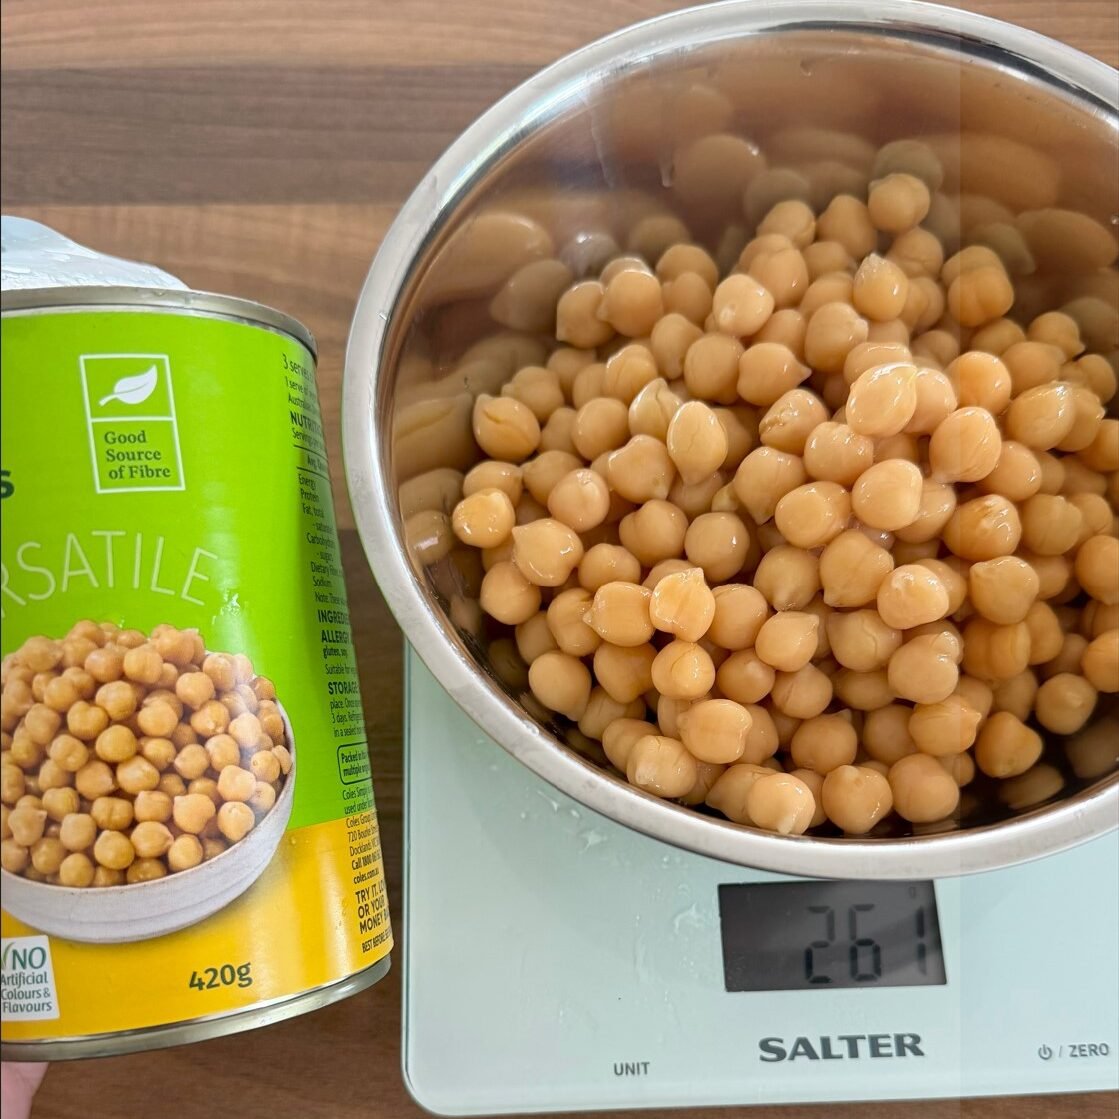
Drain and rinse them well before weighing out 250g. That gets rid of the packing liquid and any excess salt. However take note, a can that says 420g does not mean it contains 420grams of chickpeas! After draining the liquid, you will be left with about 260grams of useable chickpeas. I don’t know how they get away with this…
Freshly cooked chickpeas are excellent too, especially when cooked until very soft, but they require soaking and planning. For a hummus recipe I want to make while the charcoal chicken is marinating, canned chickpeas win on convenience. Without the compromise on flavour and health.
The best food processor for making hummus
I like using a small food processor because it lets me quickly whip up a small batch whenever we want hummus. The ingredients stay close to the blade, everything blends properly and cleanup is quick. That last part matters. A recipe stops feeling “easy” when it creates half a dishwasher worth of equipment.
A large food processor will still do a brilliant job, but this quantity may sit below the blades or get thrown against the walls instead of blending. If your machine has a big bowl, double the recipe so there is enough hummus for the blade to grab properly.
No food processor? You still have options:
- Stick blender: Place everything in a tall, narrow jug and move the blender slowly through the mixture. This is the best alternative for a small batch.
- Regular blender: It will produce very smooth hummus, but you may need to stop and scrape down the sides several times.
- Bullet blender: This works too, although the thick mixture can cling to the cup. Stop, scrape and shake it down as needed rather than glaring at the machine and expecting it to become frightened.
Whatever you use, do not pour in a large amount of water at the beginning. Add it gradually at the end. You can always loosen hummus.
Ingredients
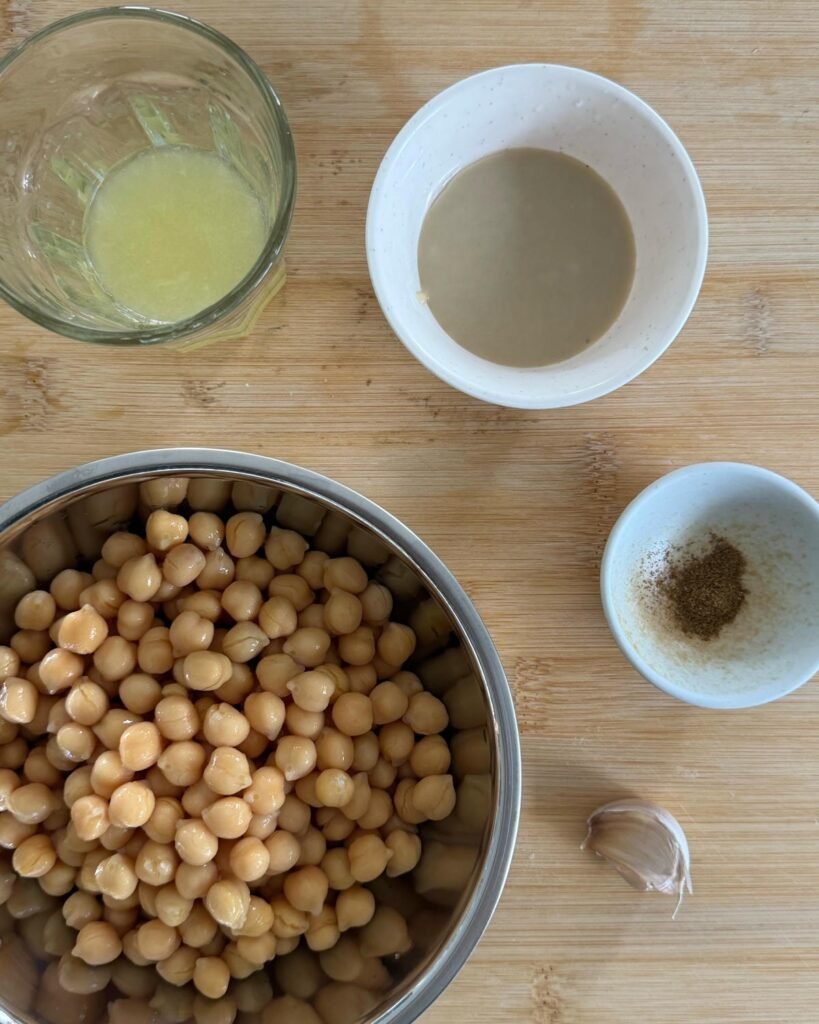
- 250g cooked chickpeas, freshly cooked or canned, drained and rinsed
- 60g hulled tahini
- 30g extra virgin olive oil
- 30g fresh lemon juice
- 1 garlic clove, finely grated
- 1/2 teaspoon ground cumin
- 1/2 teaspoon fine salt, plus more to taste
- Cold water, added 1/2 tablespoon at a time
How to make homemade hummus
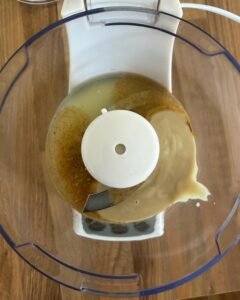
1. Start with the tahini, lemon and olive oil
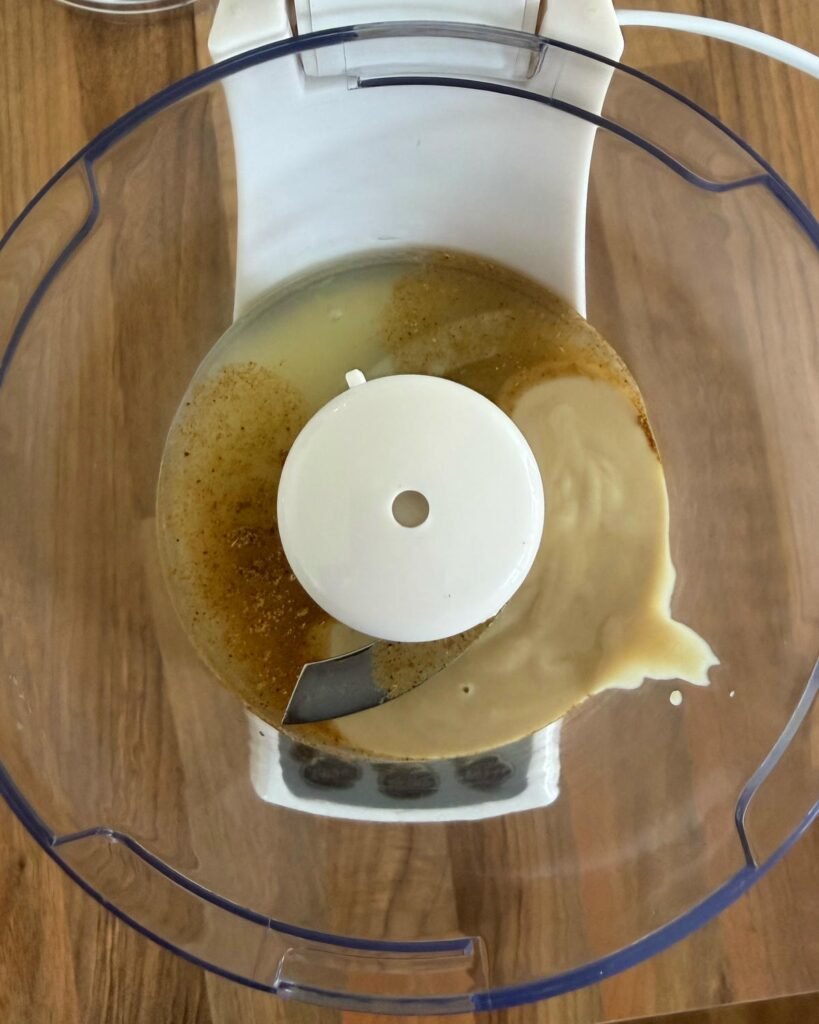
Add the tahini, lemon juice and extra virgin olive oil to the food processor. Blitz for about 30 seconds until the ingredients are well combined and starting to look creamy.
Starting with the liquids helps loosen the tahini before the chickpeas arrive. It also prevents the processor from immediately becoming a beige cement mixer.
2. Add the flavourings and half the chickpeas
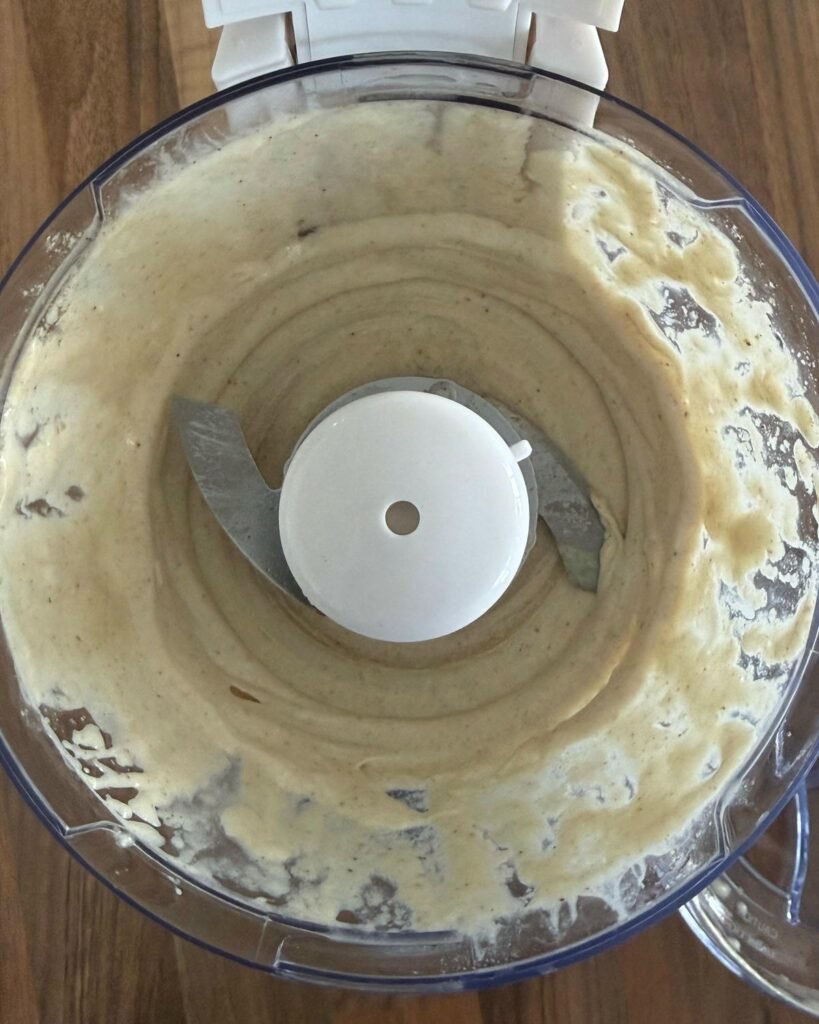
Finely grate in the garlic, then add the cumin, salt and half the chickpeas.
Blitz for 1–2 minutes, stopping once or twice to scrape down the sides. Keep going until you cannot see any whole chickpeas. The mixture will still look thick and lumpy at this stage.
That is completely normal. Do not panic and pour half a glass of water into it.
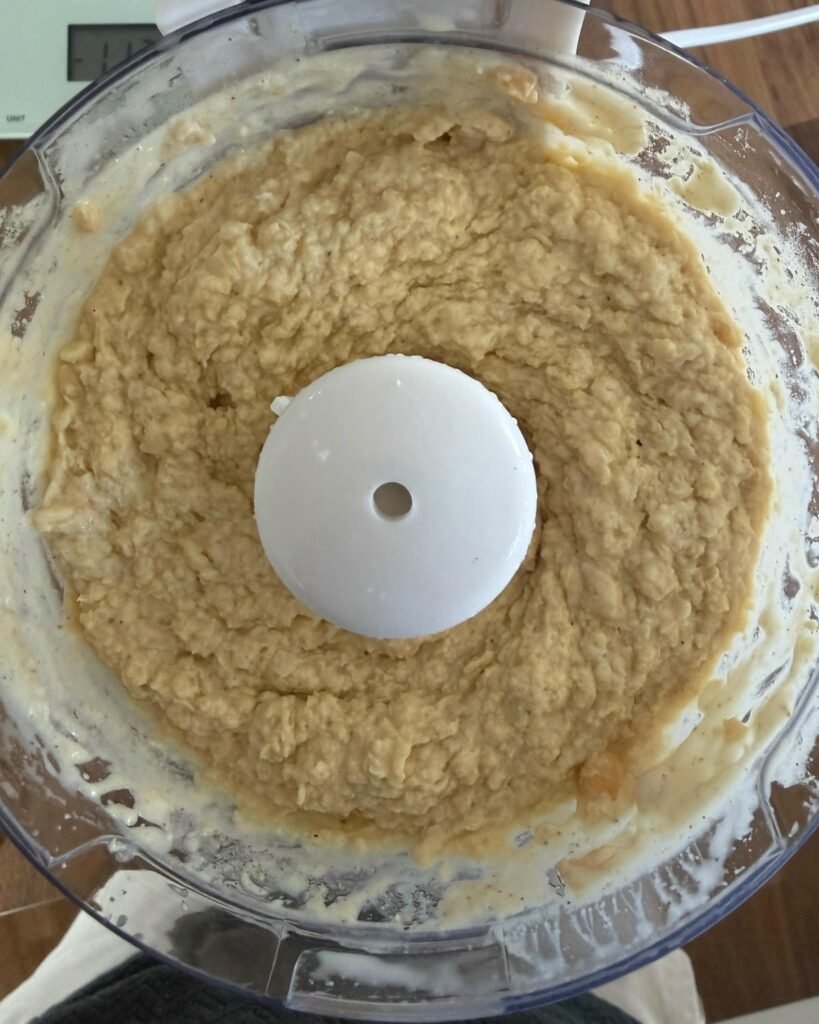
3. Add the remaining chickpeas
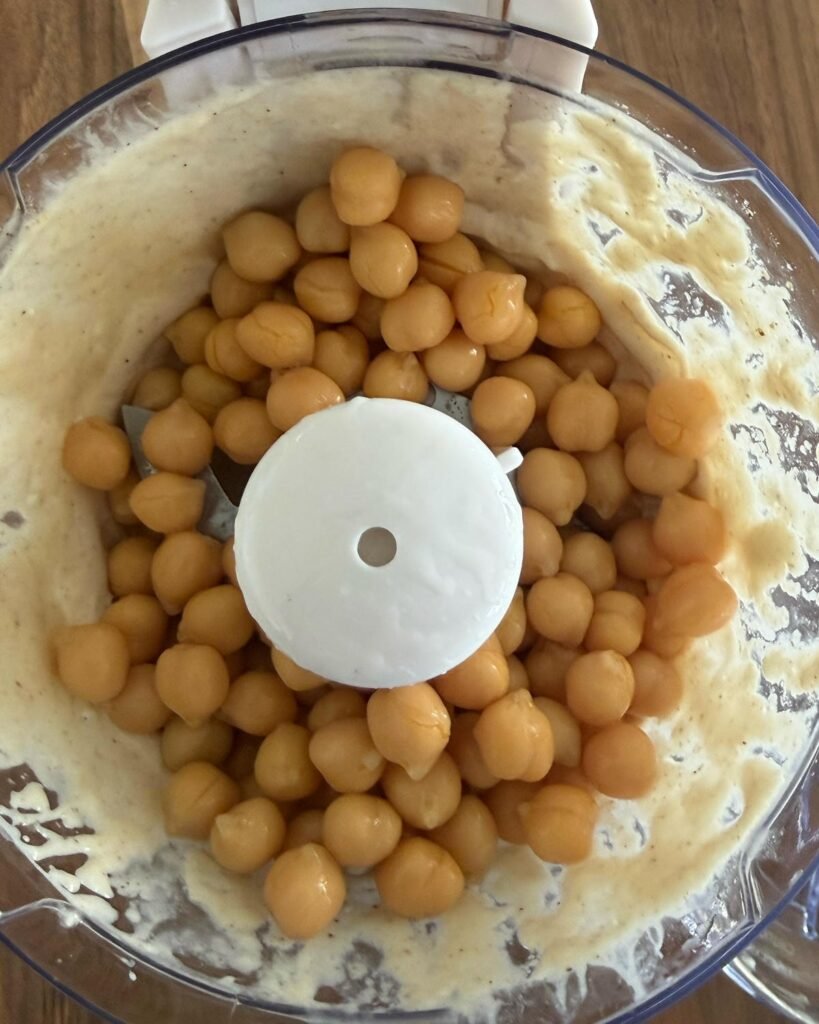
Add the rest of the chickpeas and blitz again until everything has an even texture. Stop and scrape down the sides as needed.
It will look more like hummus now, but it will probably still be thicker and rougher than you want. This is where the cold water earns its place.
4. Add cold water gradually
Add 1/2 tablespoon of cold water and blitz again. You should immediately see the hummus become lighter, looser and smoother.
Continue adding cold water 1/2 tablespoon at a time, blending after each addition, until the texture is exactly where you want it. Adding the water slowly gives you control and helps prevent accidentally turning your hummus into chickpea soup.
I like ours slightly lumpy with a little texture. It is homemade hummus, and I want it to eat like homemade hummus. If you want it silky smooth, add another splash of water and let the processor run for longer.
5. Taste before serving
Taste the hummus and adjust it while it is still in the processor.
Does it need more tang? Add lemon. More savoury flavour? Add another pinch of salt. Too thick? Add another 1/2 tablespoon of cold water. Want more garlic? Be careful—the raw garlic becomes stronger as the hummus sits. One clove can become a small but determined weapon after a few hours.
The secret to getting the texture right
The texture is not decided by one exact amount of water because chickpeas and tahini vary. Some batches absorb more liquid than others. That is why I never dump all the water in at once.
Start with the thick mixture, then add cold water gradually. Blitz thoroughly between additions. You will see it change from rough and heavy to lighter and creamier almost instantly.
Also remember that hummus firms up in the fridge. If you are making it ahead, leave it a touch looser than your perfect serving texture. Give it a stir before serving and add a teaspoon of cold water if it needs waking up.
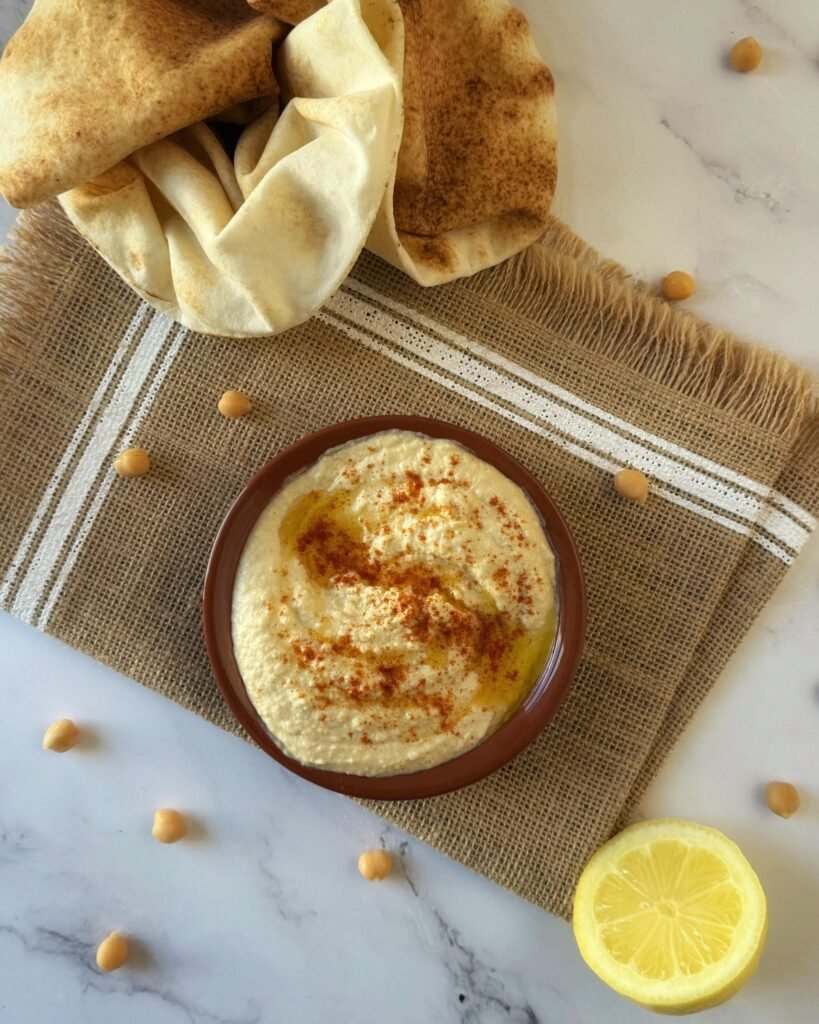
How to serve hummus with charcoal chicken
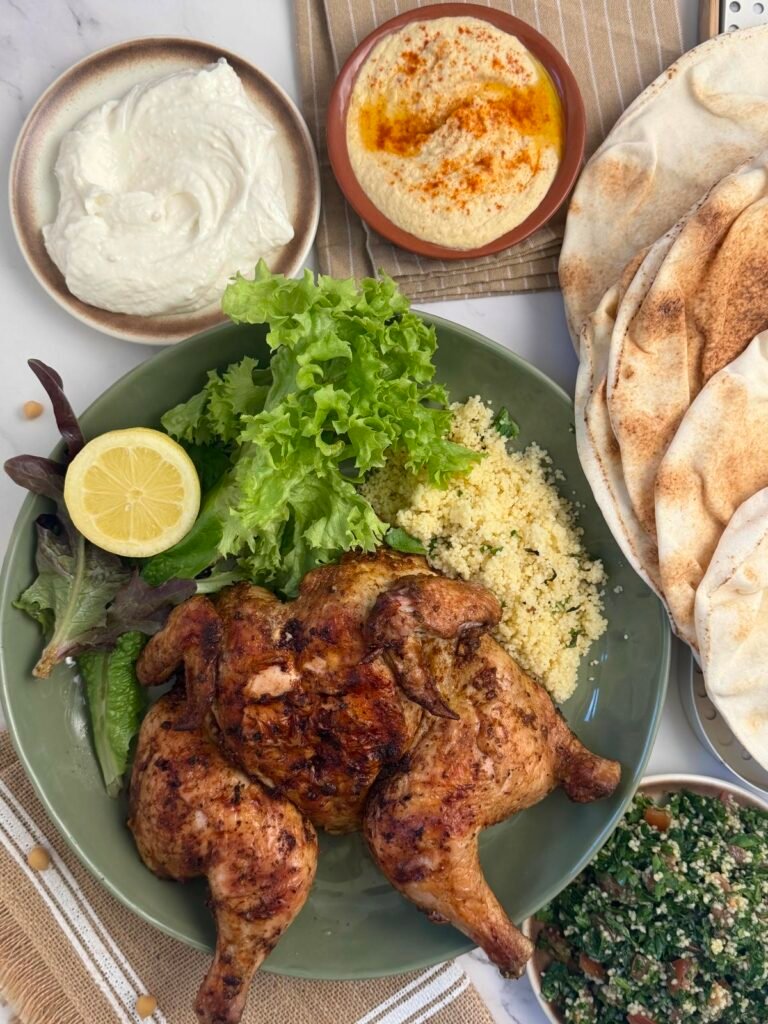
This hummus belongs beside my charcoal chicken. The cool, creamy chickpeas are the perfect contrast to the charred, crispy chicken skin.
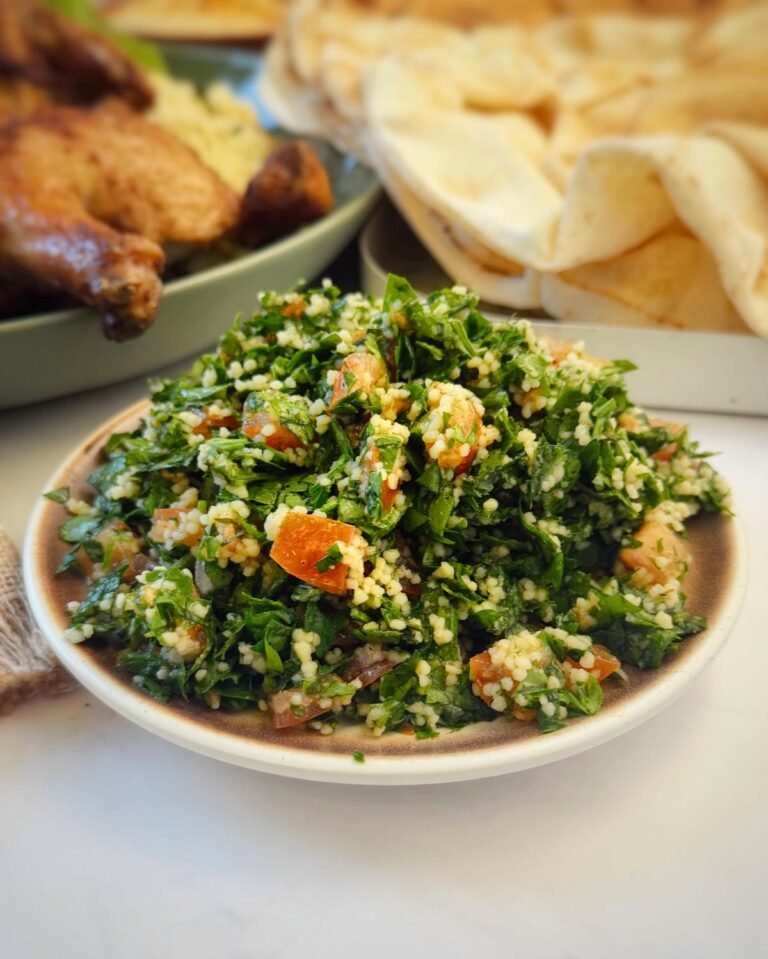
For the complete spread, add a bowl of homemade toum, a big platter of fresh tabouli and a stack of warm flatbread or pita.
My preferred approach is simple: tear off a piece of bread, spread on far more hummus than seems structurally sensible, add some chicken and tabouli, then finish with toum. Fold it, hope for the best and lean over the plate before taking a bite. We have learnt this through experience.
Hummus is also brilliant with:
- Raw vegetables and crackers
- Grilled lamb, beef or chicken
- Falafel
- Roast vegetables
- Sandwiches and wraps
- A spoon, alone in front of the open fridge
How long does homemade hummus keep?
Transfer the hummus to a clean airtight container and store it in the fridge. I like to eat it within 3–4 days while the lemon and garlic still taste fresh.
The hummus will thicken as it chills. Stir through a small splash of cold water before serving if needed, then taste again for salt and lemon.
Do not leave hummus sitting on the table all afternoon, especially on a hot day. Put out a smaller bowl and refill it from the fridge if you are feeding a crowd.
Equipment
- Food processor
Ingredients
- 250 g chickpeas cooked or canned
- 100 g tahini hulled
- 30 g extra virgin olive oil
- 30 g lemon juice
- 1 clove garlic
- 1/2 tsp ground cumin
- 1/2 tsp salt
Instructions
- Add the tahini, lemon juice and olive oil to a food processor. Blitz for 30 seconds until combined and slightly creamy.100 g tahini, 30 g extra virgin olive oil, 30 g lemon juice
- Grate in the garlic. Add the cumin, salt and half the chickpeas, then blitz for 1–2 minutes, scraping down the sides as needed, until no whole chickpeas remain. The mixture will still be lumpy.1 clove garlic, 1/2 tsp ground cumin, 1/2 tsp salt
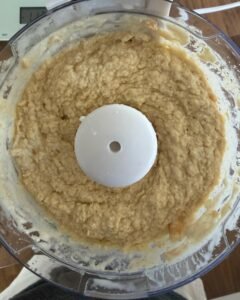
- Add the remaining chickpeas and blitz again until all the chickpeas have an even texture. Scrape down the sides as needed.
- Add 1/2 tablespoon of cold water and blitz. Continue adding cold water 1/2 tablespoon at a time, blending after each addition, until the hummus is as smooth as you like.
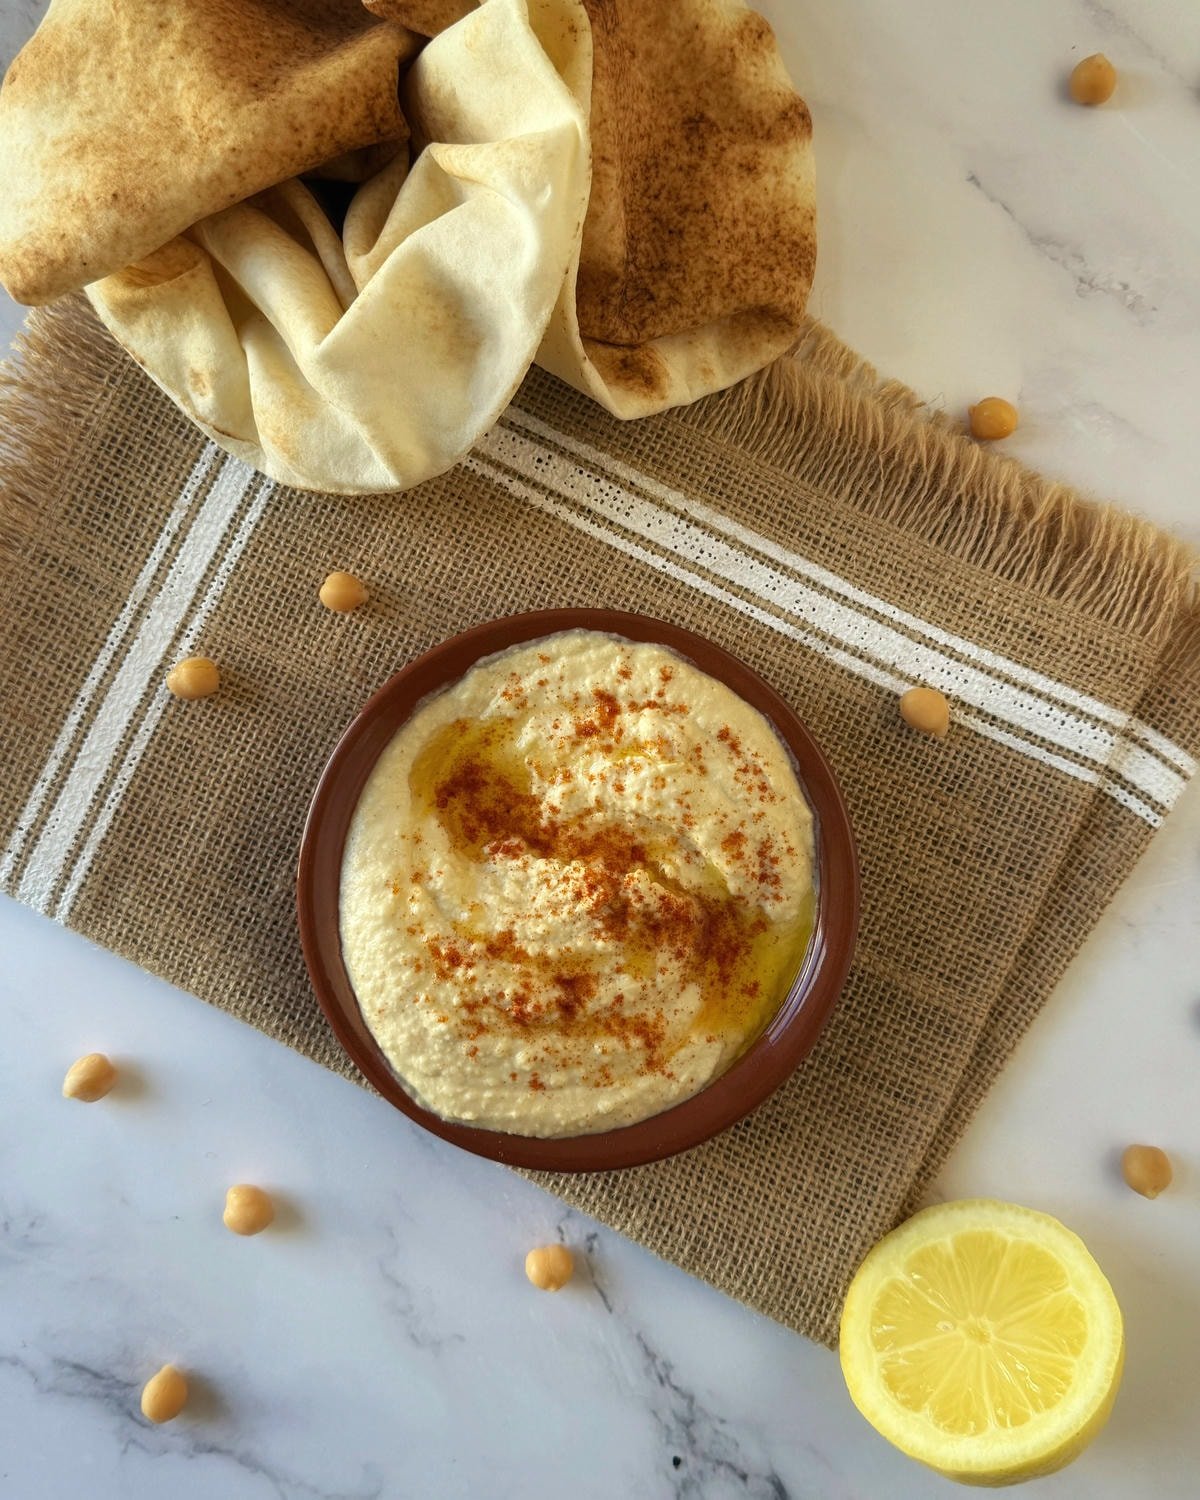
- Taste and adjust with additional salt, lemon juice or cold water if needed. Spoon into a bowl and finish with a drizzle of extra virgin olive oil.
Common Questions
Enjoy 🙂 – Damo